

Crafting Tails and Attachments for Ninetails
One of the key parts of this cosplay are of course the 9 tails attached to the dress. It was important to me that I be able to detach the tails from the dress. Doing this would make traveling, washing, and storing the cosplay far easier than if the tails were permanently attached. I used a long pile fur from a seller I found on Etsy at the time. But have since also found some other online stores to purchase Faux Fur from. I specially chose an ivory fur because much of the over all design of the outfit is warm colors. I felt using a white fur would not go as well and with all the pieces and the ivory would fit much better.
Materials Used
Long Pile Ivory Faux Fur
Red Acrylic Ink(I used this brand), rubbing alcohol and spray bottle
polyfill stuffing/fluff
Hand embroidery floss, Metal bead x9 , metal cap with Lobster clasp x9, O rings x9 all in bronze finish
On hand tools: blank paper to pattern on (i use this from IKEA), Exacto/craft knife, wide tooth comb, hair dryer, paintbrush (stick or dowel also works), long straight upholstery needle, scissors, sewing machine (though can hand sew), trash bags
Patterning and Dying the Tails
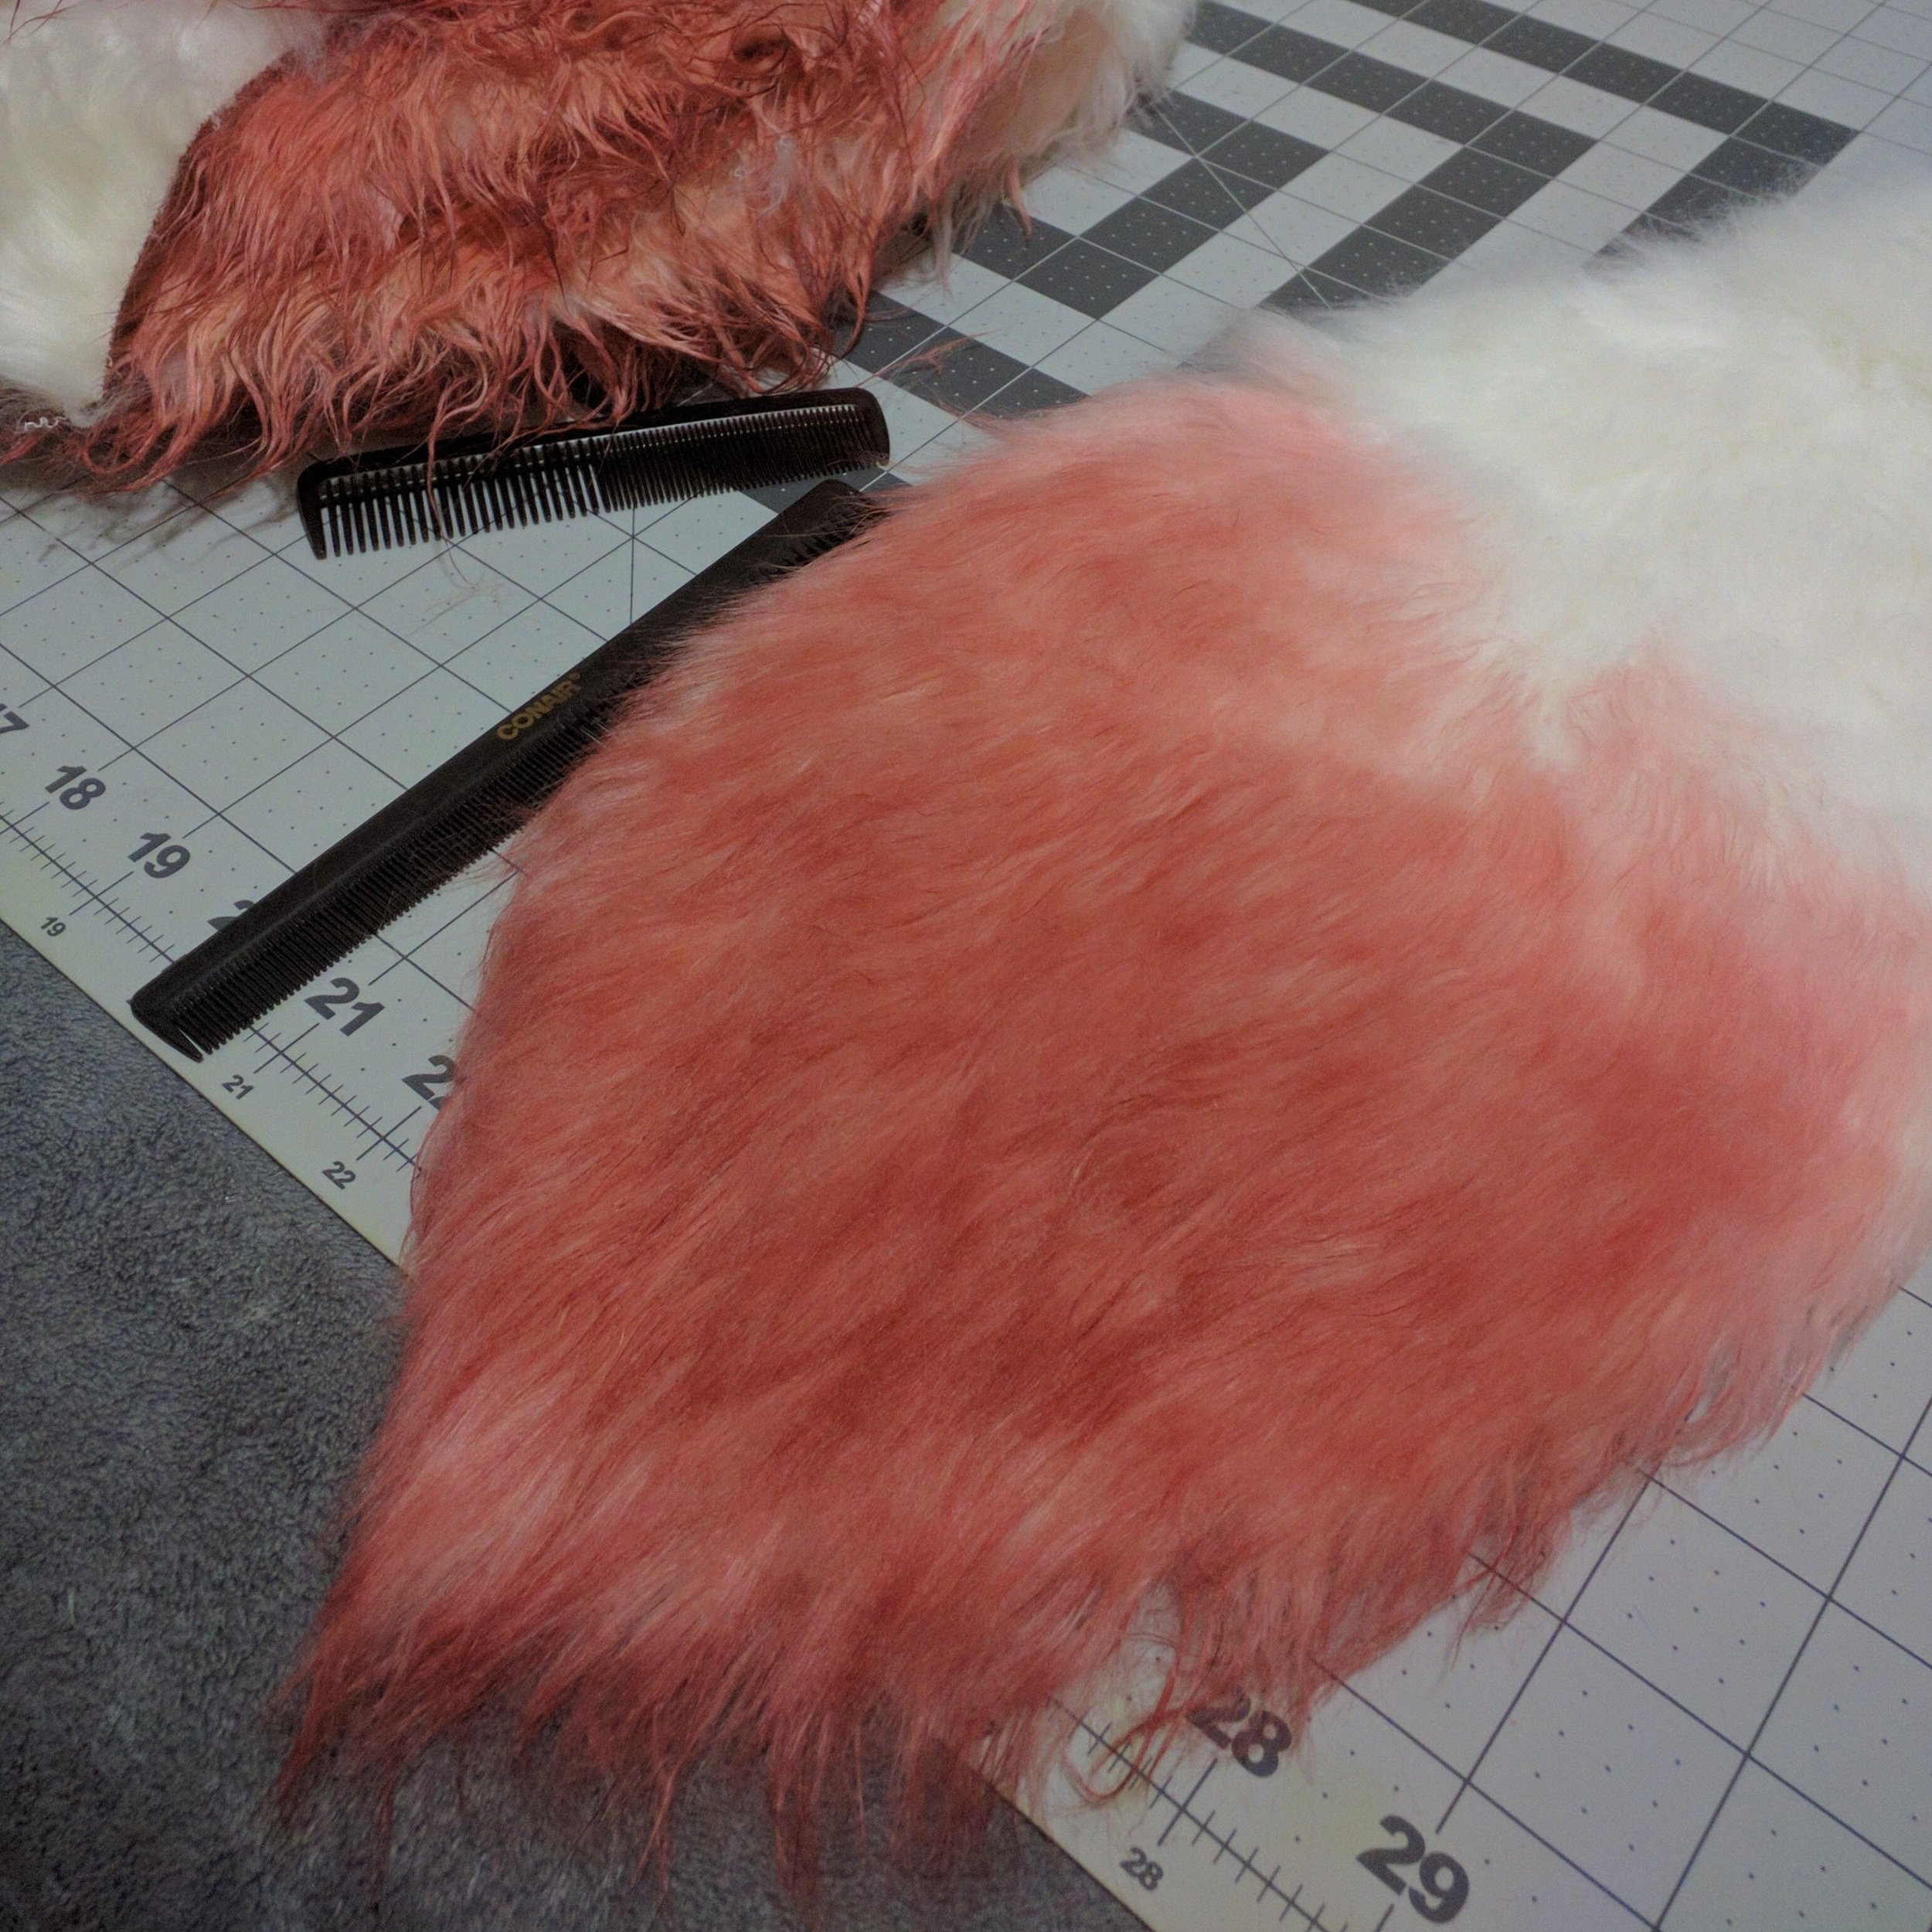
I started by drawing out the general size and shape I wanted for the tails on my blank pattern paper. I did a long tear drop shape to start me off in the right direction. Once I was happy with the shape/pattern I used it to draw 18 shapes onto the backside of the fur using a light color sharpie onto the wrong side of the faux fur. With a craft knife, cut I cute the tail shapes out being careful to only cut the backing of the faux fur and not the pile on the right side of the fabric with a half inch seam allowance. Once the shapes were cut out I prepped my acrylic dye solution for the spray bottle. I’ve used this method many times to dye both fabric and wigs before synthetic dye was more readily available in more colors.
Next I took a trash bag and cut the sides open to make it a larger surface to protect my floors from the spray. If you can do it outside I highly recommend it. When I originally dyed this I didn’t have a good outdoor area for my apartment. After mixing the solution in the spray bottle I tested the spray on a swatch to make sure I would be happy. In order to get the gradient I did a few passes of light sprays and combed through the fur with a plastic comb to make sure the dye took to the fur the best. For a more concentrated color at the bottom I comb the top layers away and made sure the bottom was saturated.


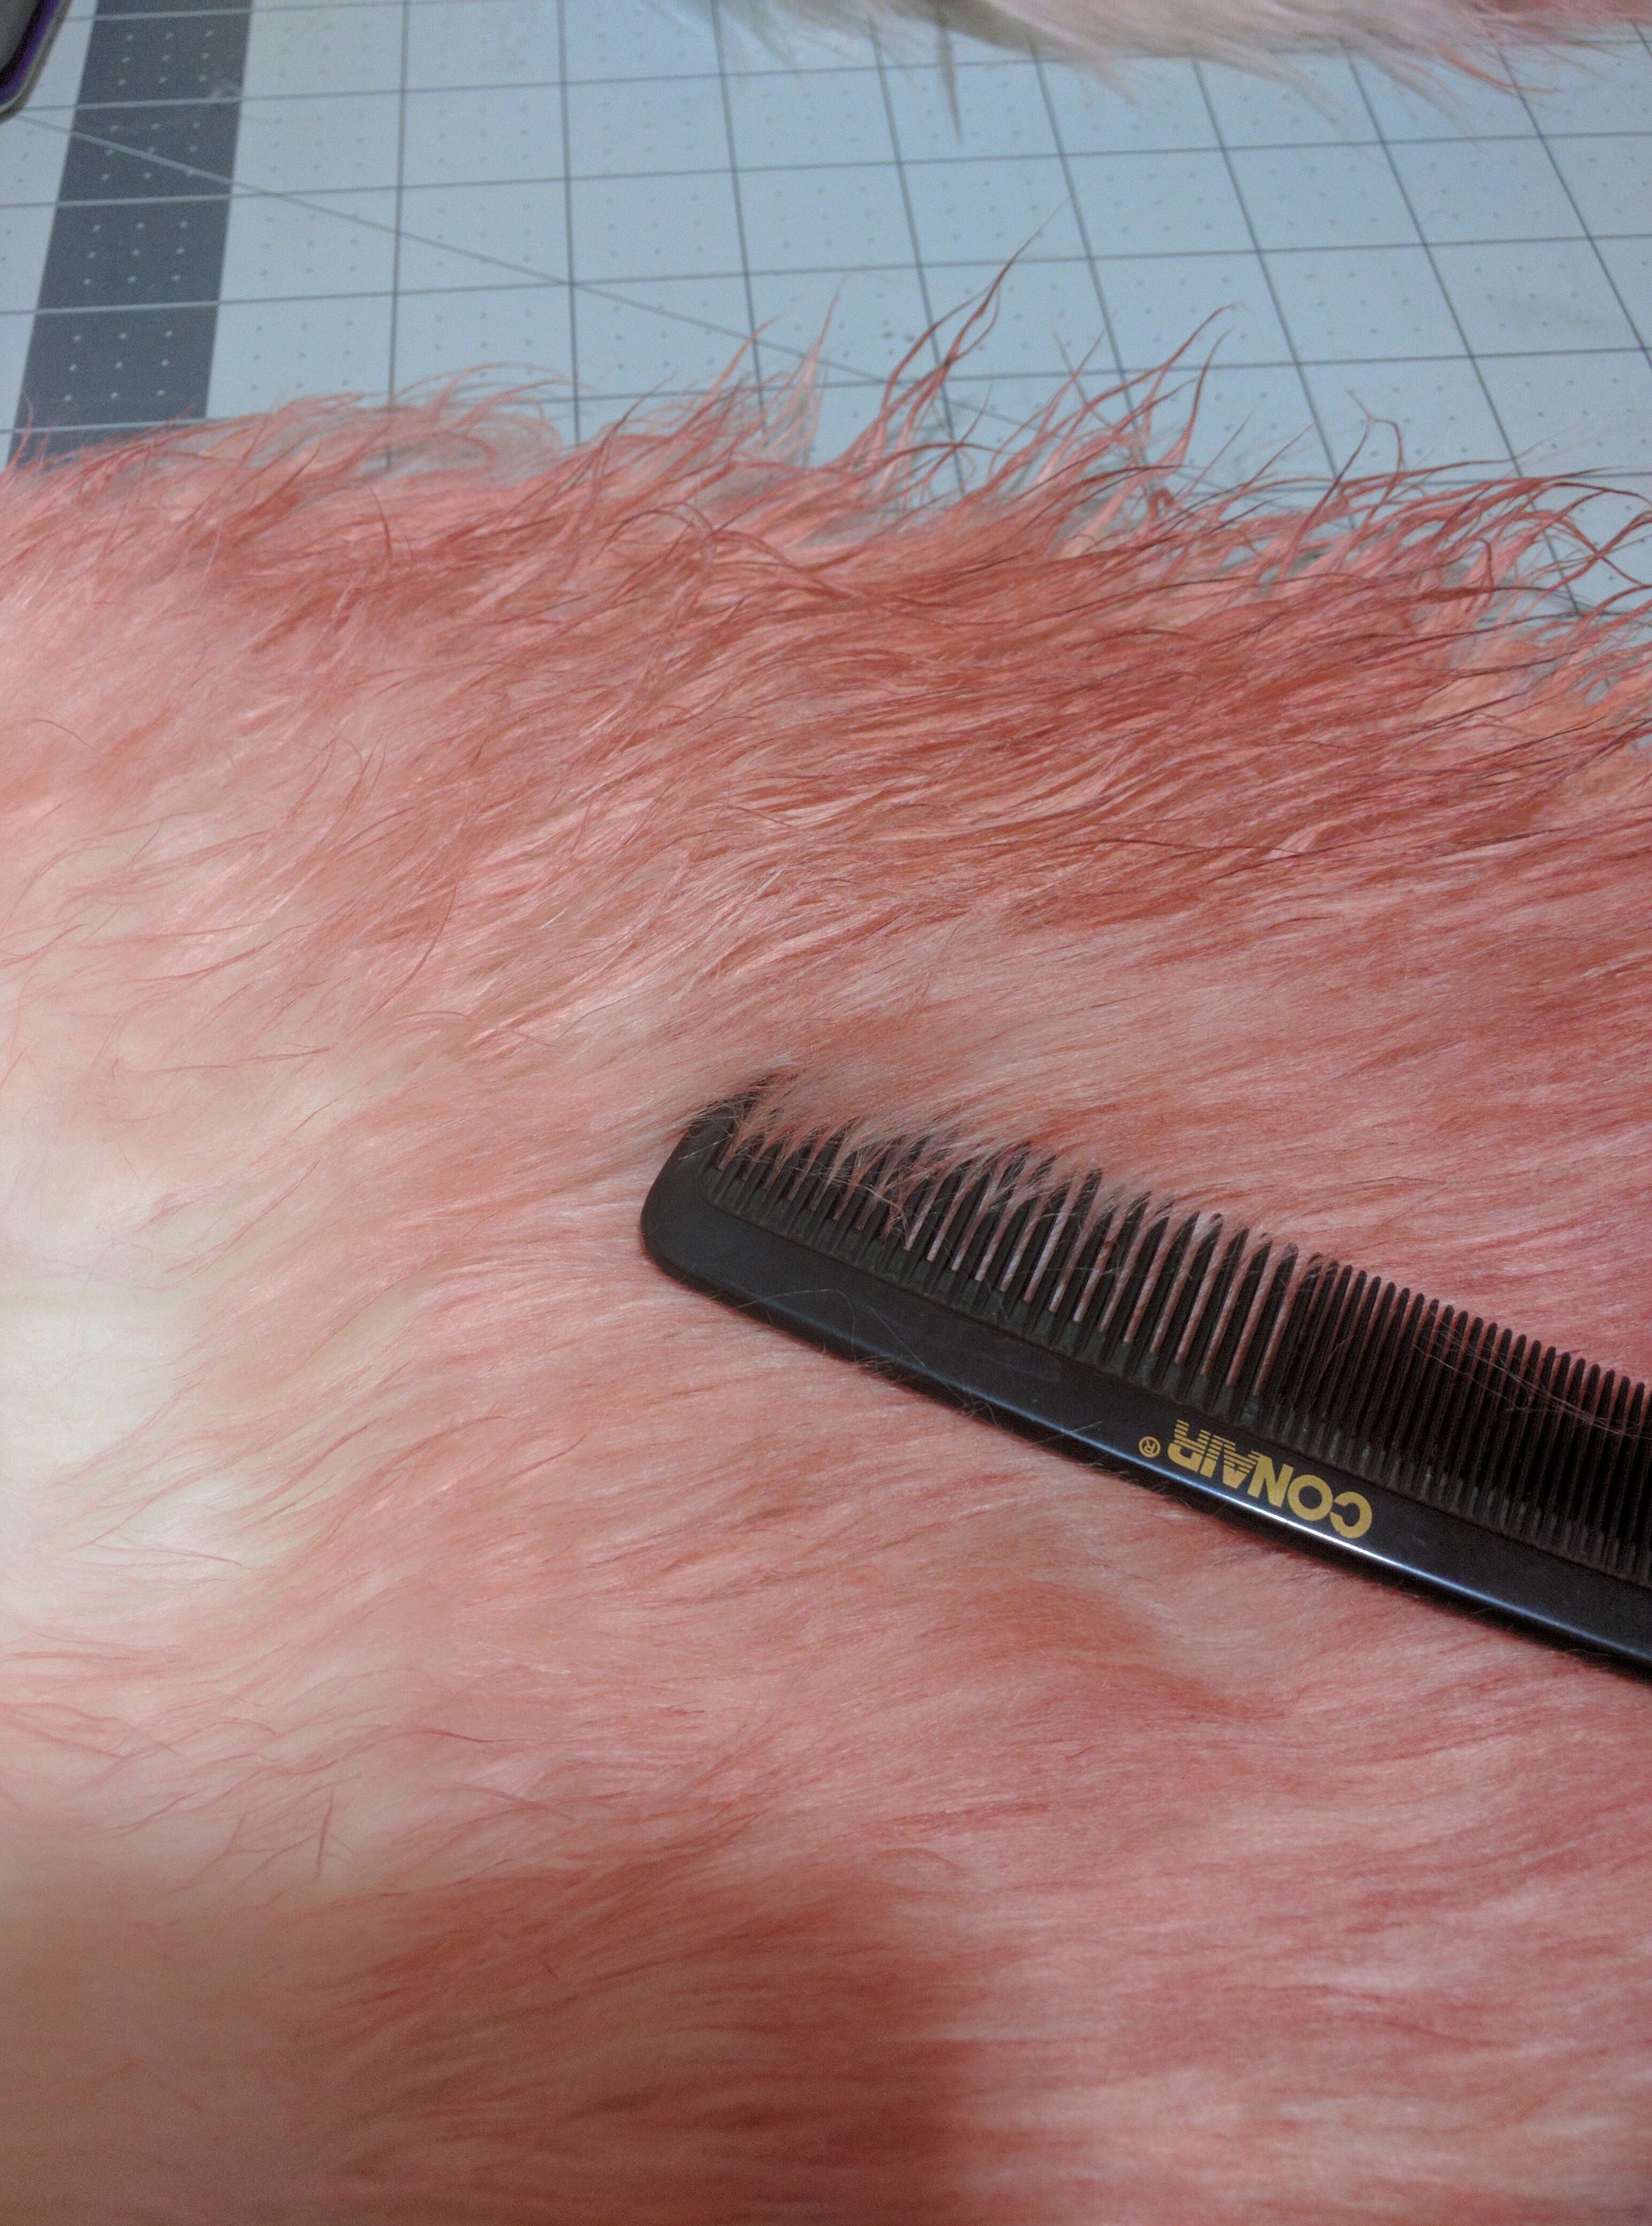
I used a laundry drying rack to hang the pieces to let them air dry. Once dry, they were a little crunch to combing them helped fluffy the fibers. because these were dripped dried i kept a trash bag under where they were hanging to prevent any staining of my floors. After dying and drying all the cut out pieces of fur I combed the fibers inward and began prepping the tails for sewing.
Assembling The Tails
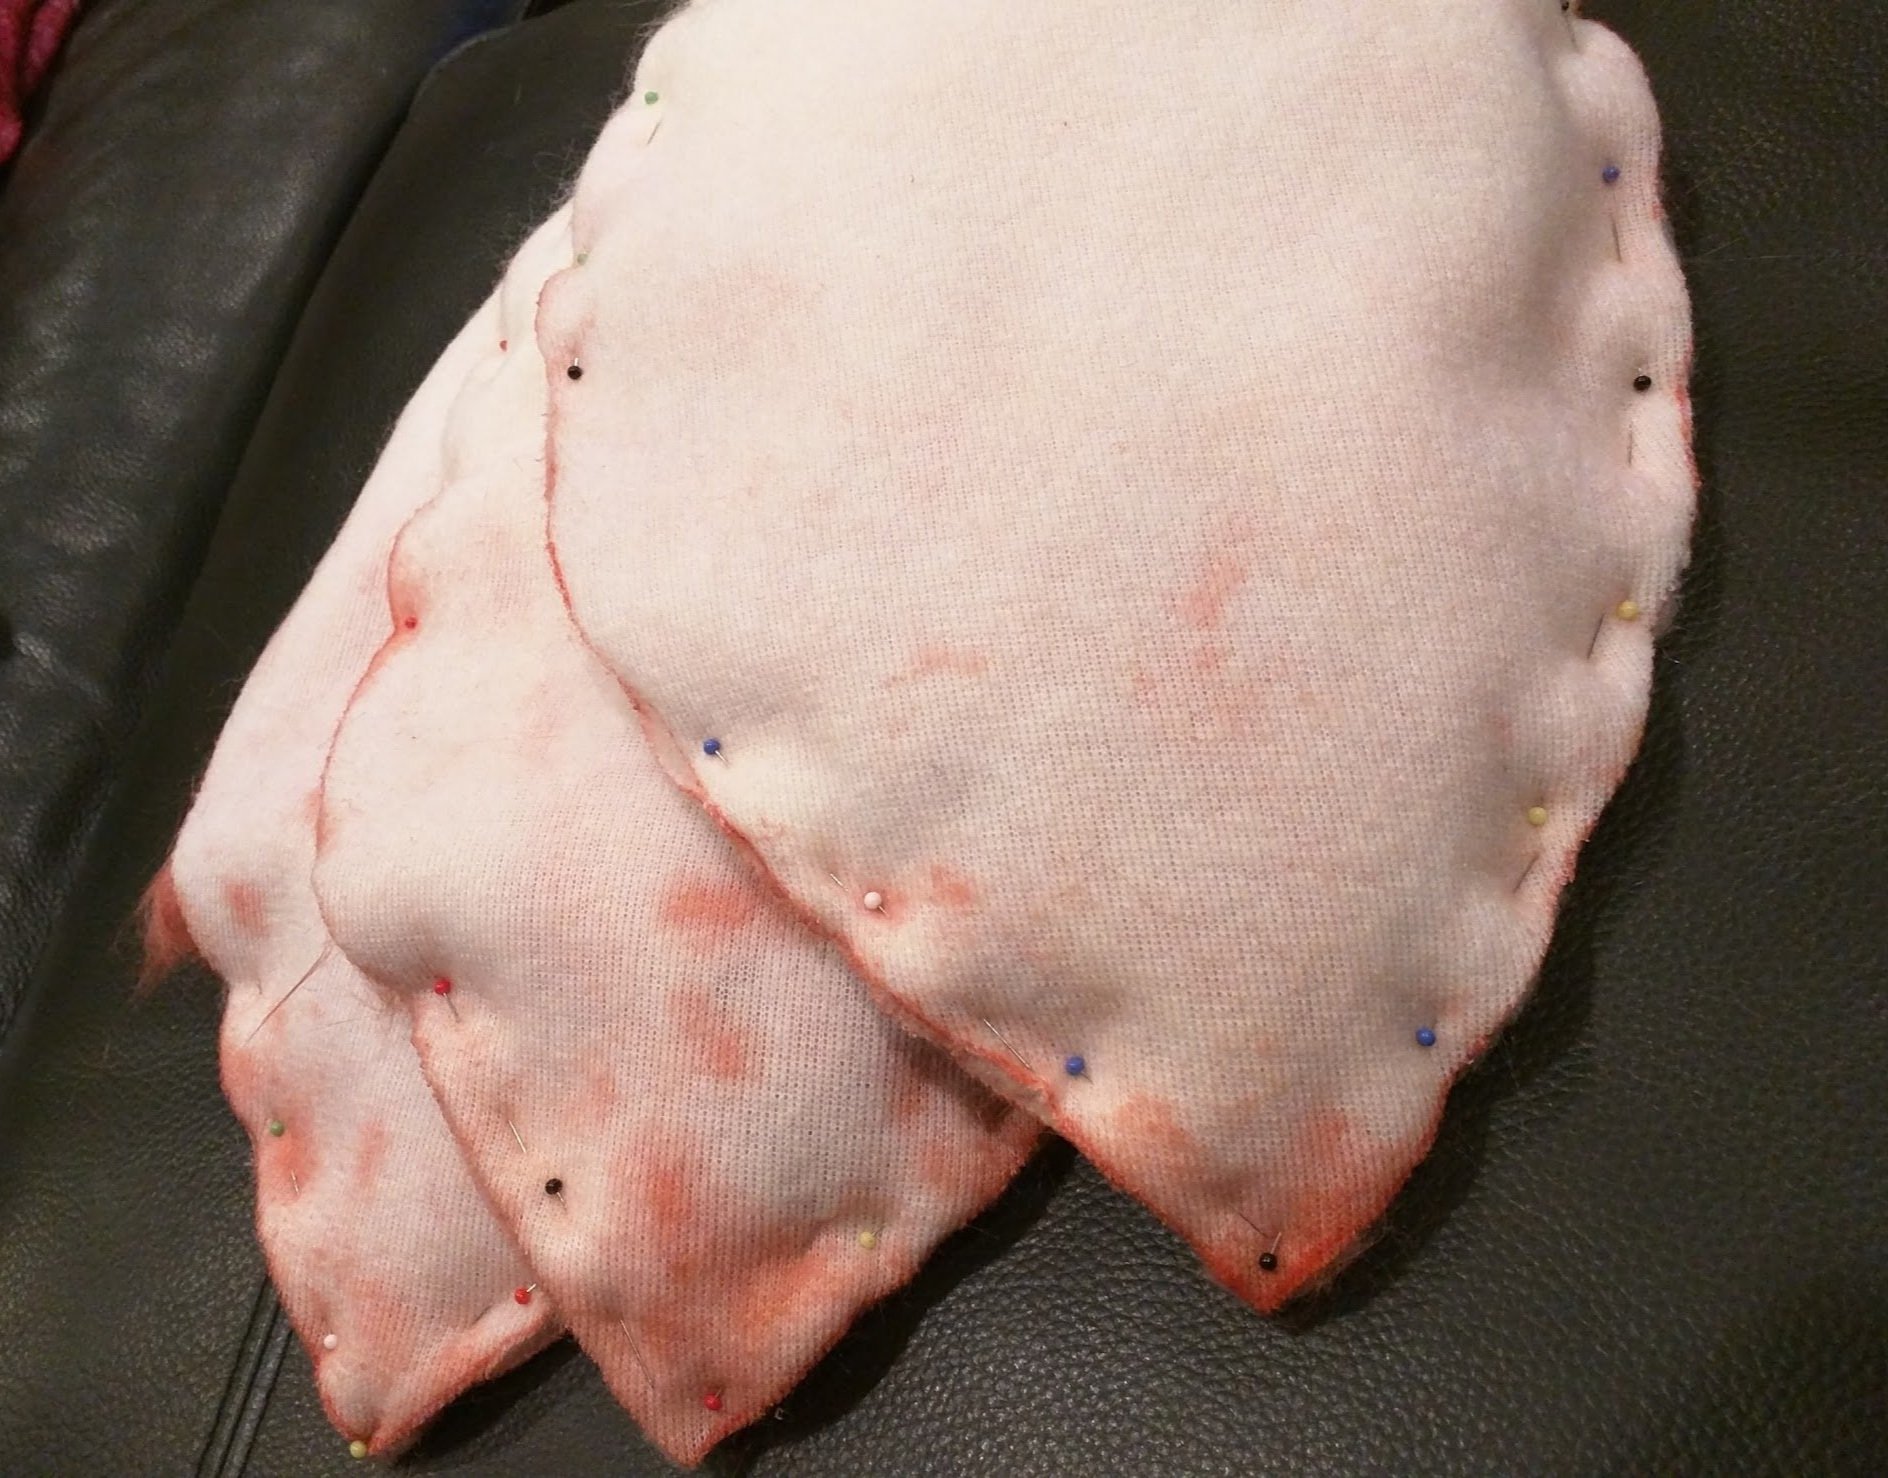
Sewing the tails is pretty straight forward. The best thing to make sure you do is keep the fiber away from where you are sewing as much as possible. Because this was a long pile faux fur it would be much harder to correct any bunching of the pile once the edges were sewn together. With the tails prepped for sewing I left an opening wide enough on an upper side to be able to turn right side out the tail once once together.
Then I hand stitched the opening closed with some thread that matched the ivory fur color. Once the tails are turned right side out, stuffed with the polyfill fluff, and closed up I used a comb and hair dryer on a medium setting to fluffy and straighten the fur out. The result is a light wait fox tail ready for hardware attachment!

Attaching to Dress
The final steps for the tails were to figure out a way to attach them to the dress. To solve this I used embroidery floss and a long upholstery needly to sew in a tassel like top to the top of the tail.
This way I could thread the floss through a metal bead that would cap the top fo the tail and then glue in the end of the floss into a metal cap that had a lobster clasp at the end of it. This is how I would be able to attach and detach the tails from the dress.
The gluing process can be seen at the 12:50 mark of this timelapse video. In order to be able to clip the tails to the dress I used an O ring (not a jump ring as I didn’t want the possibility of the ring opening) and sewed a ring into each place on the dress that I wanted the tails to be. With that done the tails are complete!