Making Detachable Buns & Styling the Wig for Ninetails
Making and styling the wig for Ninetails is much more straightforward than it first appears. I first wanted to start with breaking down how I thought the wig should be constructed. I knew I would need a long base with with a lace front to allow for the hairline to have a widow’s peak. The buns themselves I wanted to be detachable and would use a technique I’ve done previously with costumes with horns. There are many ways to attached extras like buns to wig bases. This ones that has worked well for me with materials I have available.
Materials Used
Wig and wig wefts
Craft Styrofoam balls - 1 small, 1 large
1 Inch wide headband
1 inch metal snaps x 2
felt, hot glue/ glue gun, craft knife, wig head/stand, wide tooth comb
Silicone finger protectors (very optional but nice to have)
Wig Base
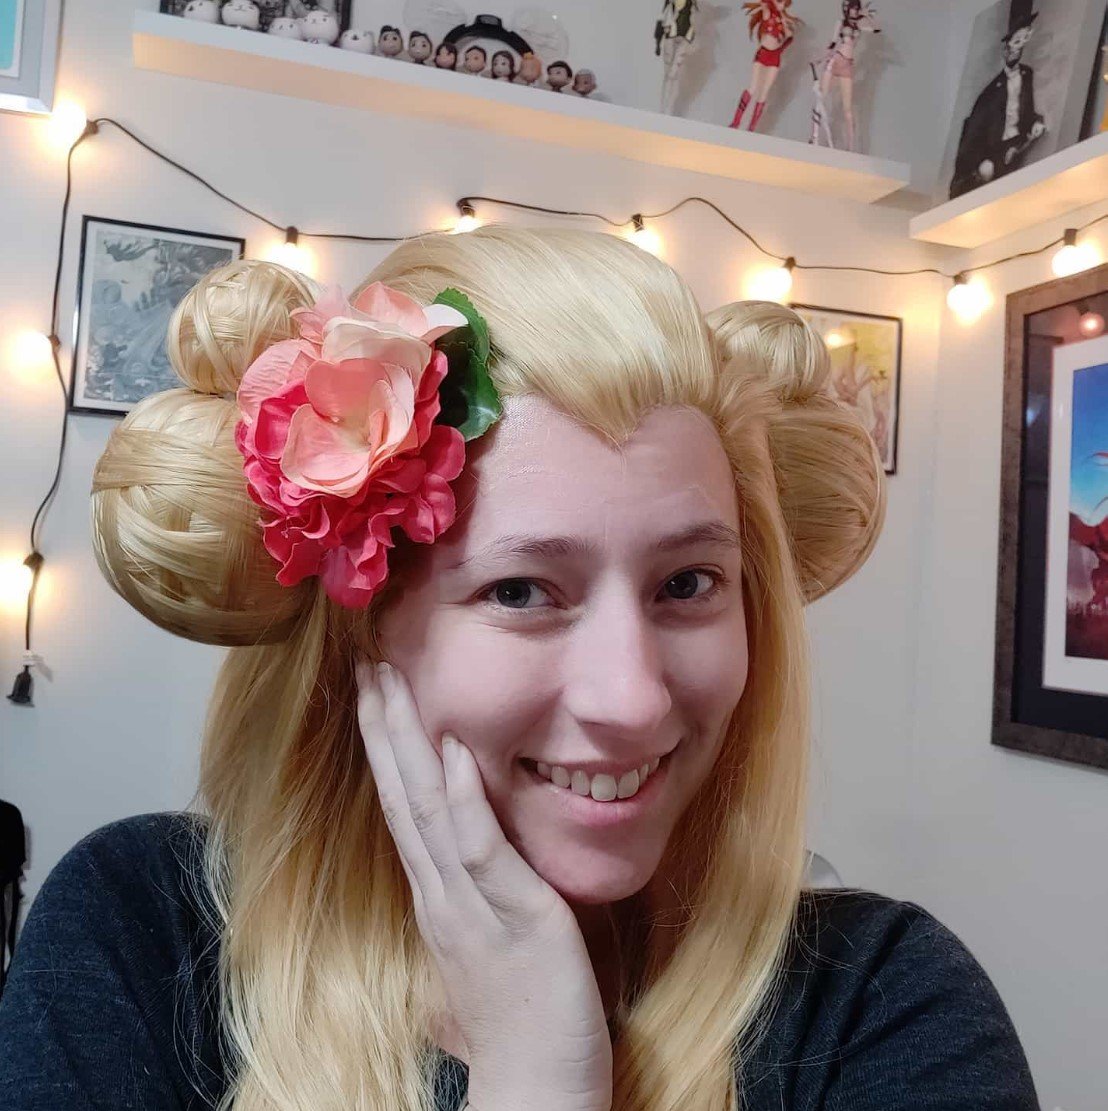
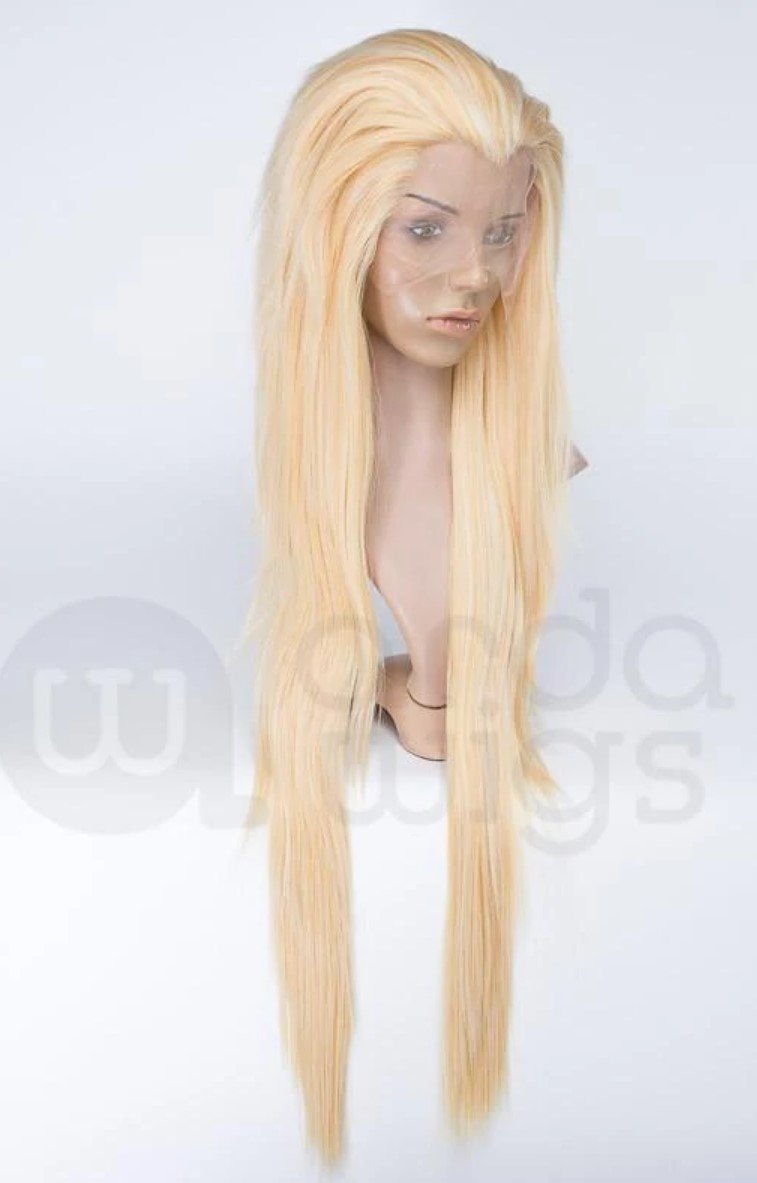
The base wig I used is the Suzi CLASSIC from Arda Wigs. This was the exact style I needed and came in the color I was looking for. It did not require me to do any extra styling other than tease the bangs for volume. I also purchased wig wefts in the same color as the wig because those will be used to make the detachable hair buns.
Out of the bag all wigs will need a little bit of TLC. For a straight wig like this one I like to grab my foam wig head, take the wig out and brush and condition it. I use long straight pins to secure the wig the wig head. Next, I take a wide tooth comb and brush out the fibers from bottom to top to help remove any tangles. An additional step i do with most of my wigs is condition them with a spray. There are several on the market specifically for wigs/ wig fiber. But I have been using Motions hair oil and have never had an issue. This has helped me give my Sailor Venus wigs a long happy life.
Building the Buns

Silicone finger protectors help when working with hot glue
Now it’s time to use out the hot glue, wefts, box cutter, and Styrofoam balls.
I started building the buns by taking 1 large and 1 small Styrofoam and used a box cutter to cut each ball in half. Then using the knife I carved out a small area where the smaller ball would touch the bigger one so they could sit flush against each other. Do this for the second half of the balls. I know had two complete bases for buns.
Next I took out my wefts and began to snip out small sections to work with. For the small bun i used small sections of wefts. Applying hot glue on the weft and then applying the weft to the “back” (flat side) of the Styrofoam half. Because you want to apply the weft the to the foam while it is still hot I like to use some silicone finger protectors that allow me to handle the hot temp without burning off my finger tips.
Repeat this process using varying weft placements along the flat back until all 4 half ball bases are full covered in the wig wefts. Varying the placement and direction of the wefts allows the bun to look more like a real hair bun than a tricky half bun that is mostly foam. This also allows me to use enough wefts for coverage but not so many that it will add weight to the buns for wearing.
Time-lapse Build videos
Securing the buns
As I mentioned before there are lots of ways to secure extra things like buns and prop horns to wig bases. I like to use the headband method if the elements I am adding sit near the middle of head/crown. Most wigs have a skin top or a more dense cap at the top of the head. Wearing a headband under the wig and attaching the extras to the headband with the wig in-between allows for more secure wearing accessories.
Now, taking 1 inch wide plastic headband and 2 sets of 1 inch metal snaps and a sharpie I marked where I wanted the snaps and buns to connect. I knew that I wanted to adhere the snap to the center of the bigger bun since it is the heftier shape.
Using the hot glue I adhered one half of the snap to the headband and the other half to the bun. With that complete and let to cool down for it to set I could then do a test wear to make sure I was happy with it. And I am! To wear I put my wig cap on, then my headband, then wig, and finally buns.